Gmail
Grants Decree read-only access to your Gmail inbox via OAuth 2.0. Once configured, the gmail-sync automation is enabled automatically and credentials are loaded by the container at runtime.
Setup
./existential.sh run automation gmail-sync
The script will:
- Prompt for your Google Cloud Client ID and Client Secret
- Print an authorization URL — open it in your browser
- After you authorize, your browser redirects to
http://localhost:8803?code=...and shows a connection error — that's expected - Copy the full URL from the address bar and paste it back into the terminal
Credentials are saved to automation/secrets/gmail/credentials.env and the gmail-sync routine is enabled in services/automation/decree/config.yml automatically.
Google Cloud Setup
You'll need a Client ID and Client Secret from Google Cloud Console before running the setup script. Go to console.cloud.google.com to get started.
1. Create or Select a Project
Select an existing project or create a new one.


Make sure the new project is selected before continuing.

2. Enable the Gmail API
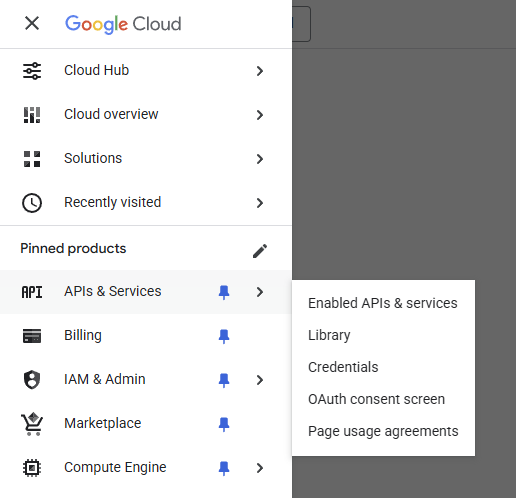
Go to APIs & Services → Library.
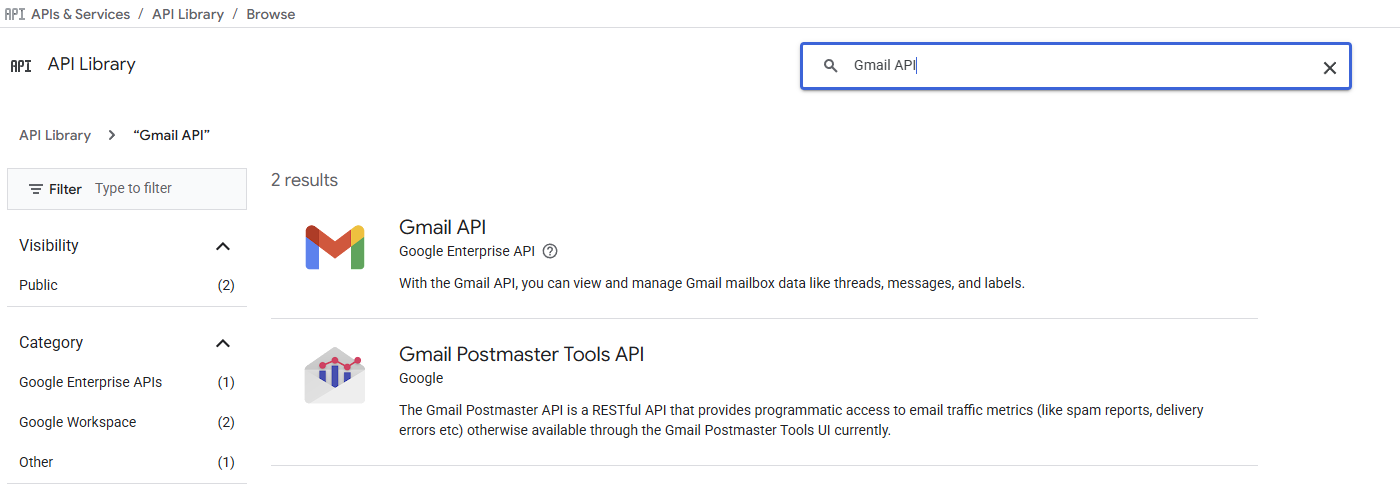
Search for Gmail API.
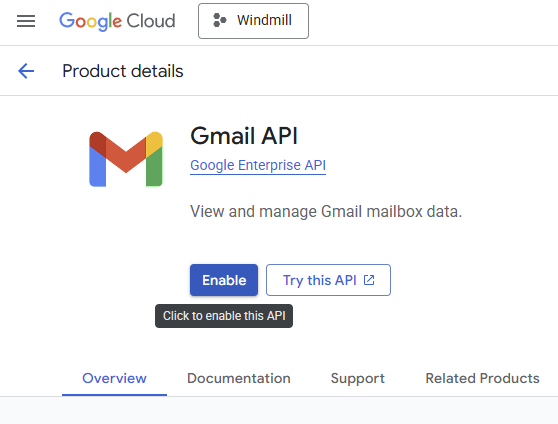
Click Enable.
3. Configure the OAuth Consent Screen
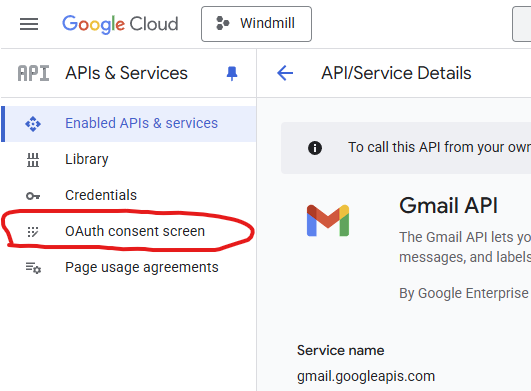
Go to the OAuth consent screen.
Click Get started.
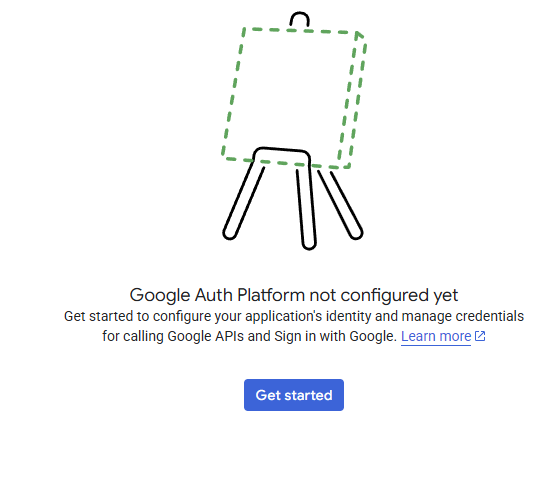
- Set the app to External
- Fill in the app name and your email
4. Publish the App
While the app is in testing mode, Google expires your refresh token after 7 days —
the sync then fails with invalid_grant and has to be reauthorized. Publishing avoids that.
Go to OAuth consent screen → Audience, click Publish app, and confirm.
Do not submit for verification. Publishing is instant; verification takes weeks, and
Gmail's gmail.readonly is a restricted scope, so it would also require a paid annual
third-party security assessment. You need none of that to use your own app.
The only consequence of staying unverified is a warning screen the first time you authorize: click Advanced → Go to (unsafe). You will not see it again.
5. Create OAuth Client ID
Go to APIs & Services → Credentials → Create Credentials → OAuth Client ID.
-
Application type: Desktop app
-
Add redirect URI:
http://localhost:8803This is the one place in the stack where
localhostis correct rather than a<slug>.<domain>hostname: Google's desktop OAuth flow redirects to a loopback listener, and./existential.sh run automation gmail-syncpublishes port 8803 for exactly as long as that exchange takes. Everything else reaches services through Caddy, because no other container publishes a host port.
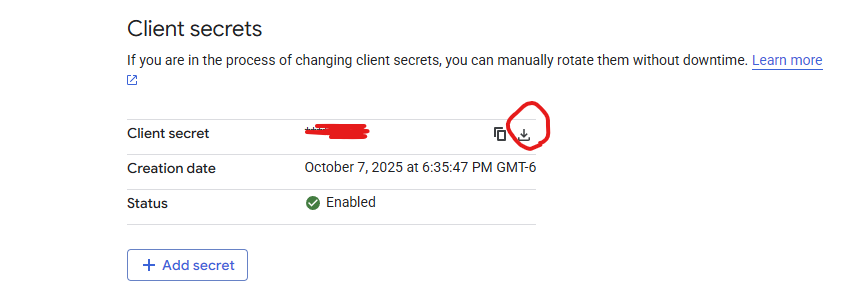
Note your Client ID and Client Secret — you'll paste these into the setup script.